
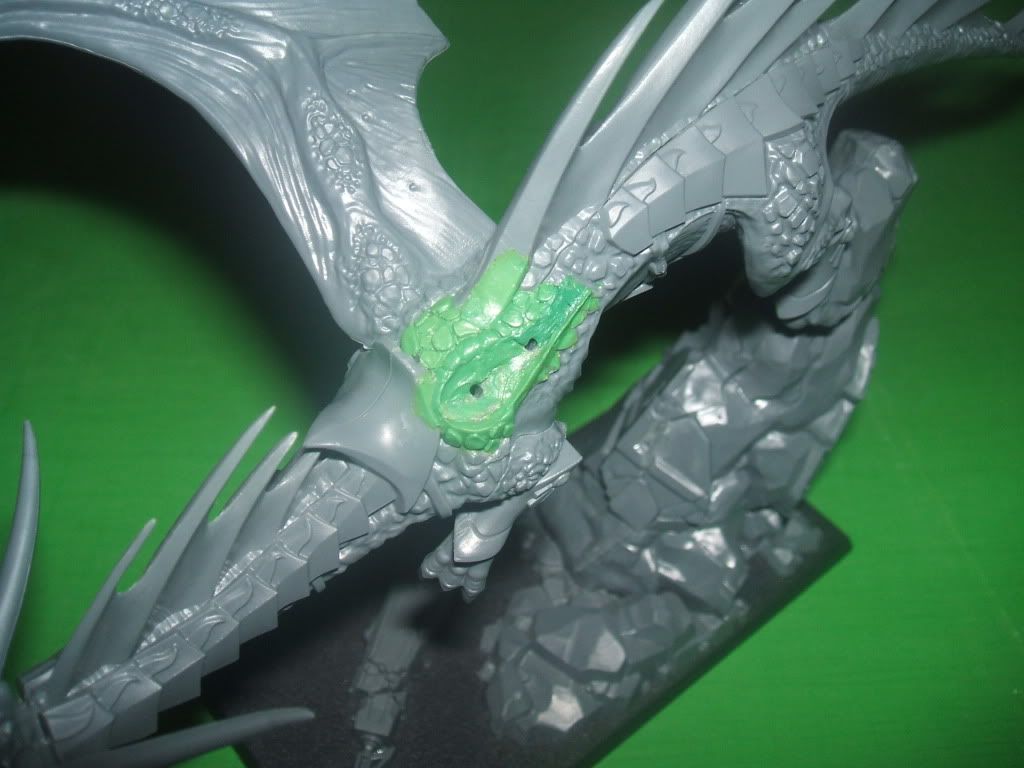
The wing join was quite badly damaged and required a complete repair and some resculpting, this I've now finished, retaining a removeable socketed joint as was asked by the customer.
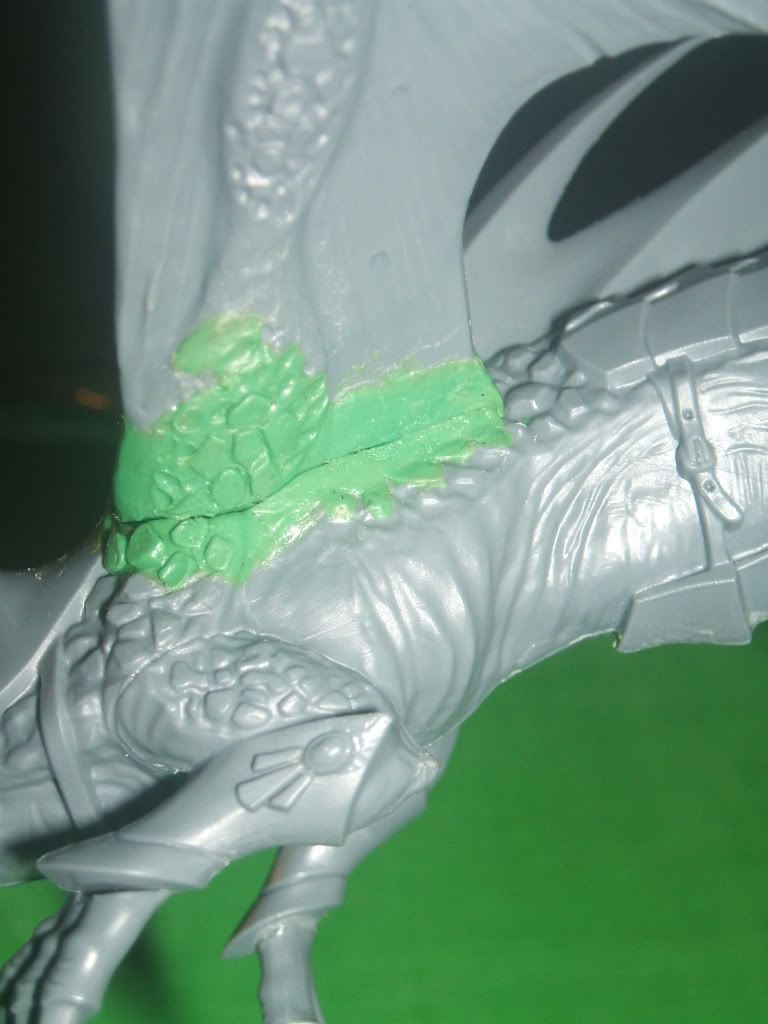
The finished body with it's socket...
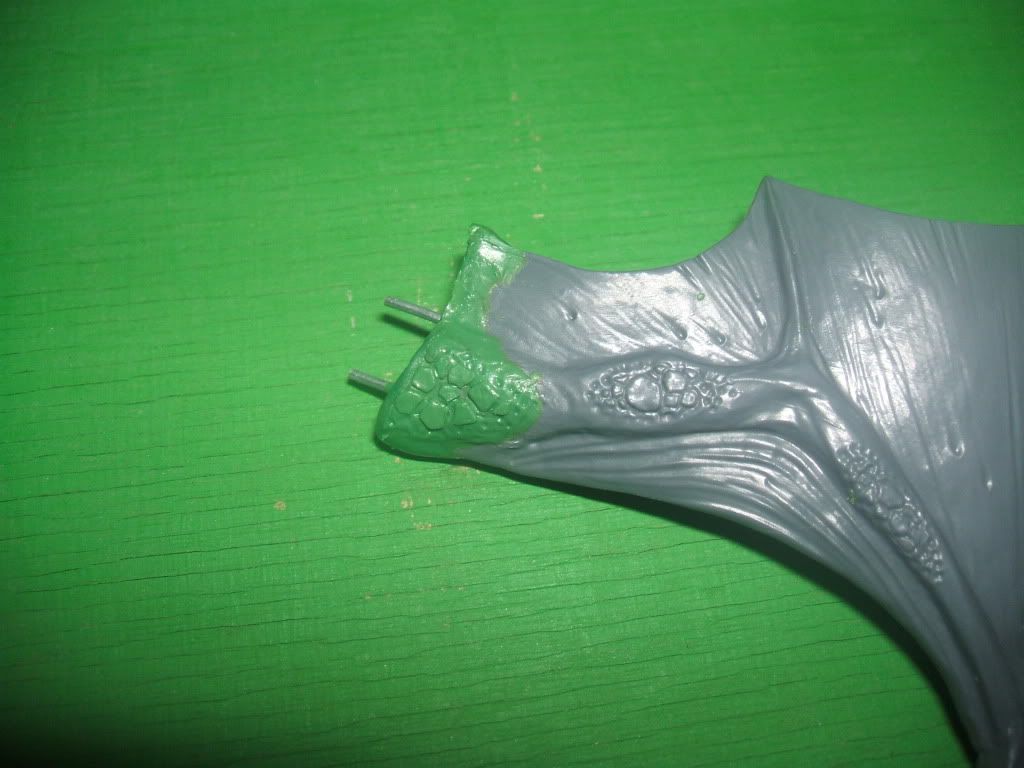
...and the finished wing with it's pins.
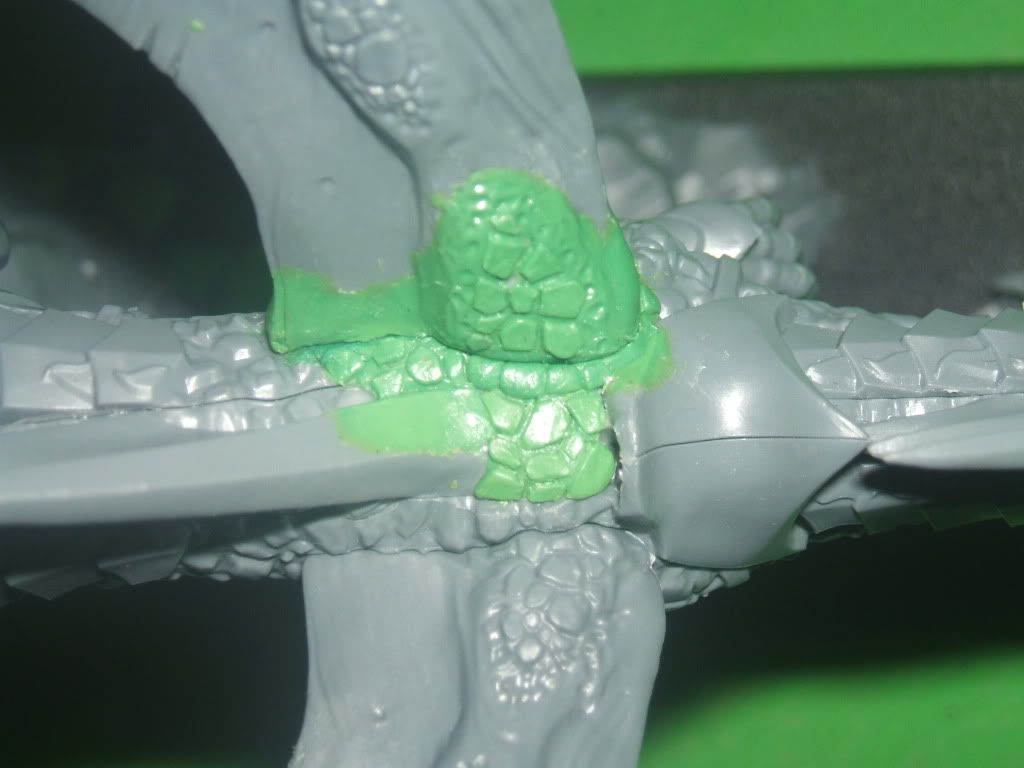
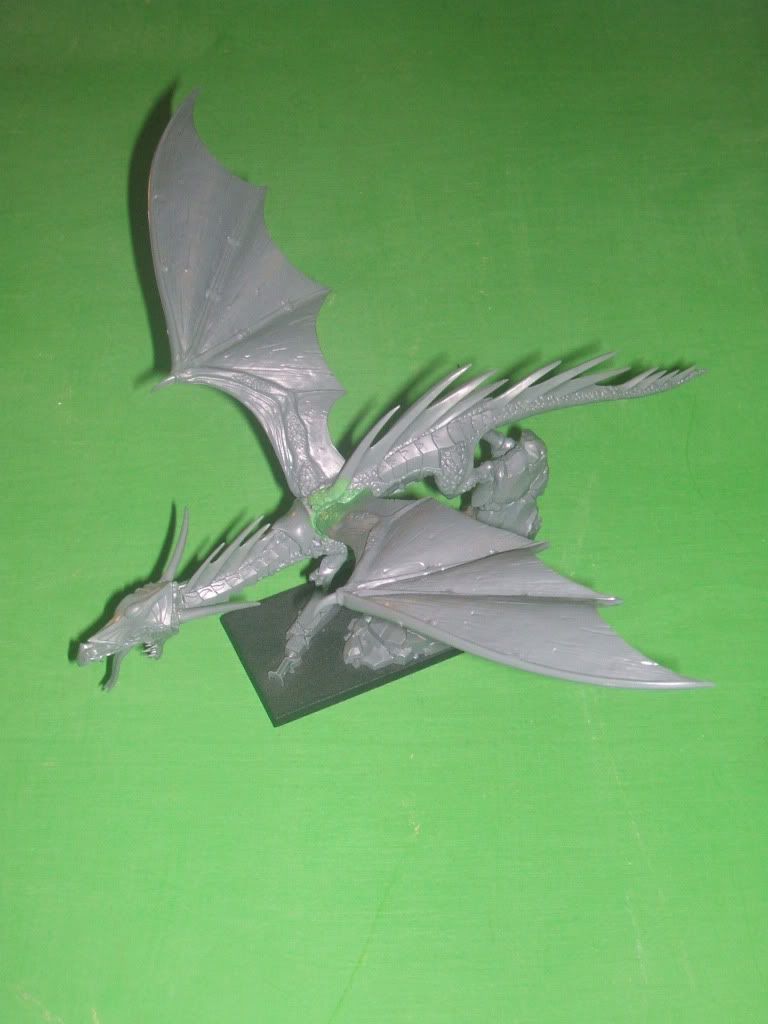
The hardest bit about the repair was getting the join between the wing and body to look right, I made extensive use of cooking oil (as I would with greenstuff casting) to get a fairly tight fit without the surfaces bonding, I've left it slightly loose though as once painted and varhished it should then become a good tight fit as is shown in the above and below shorts of the join.
And thats that, one Dragon ready to fly again, I've got to say I found the project really enjoyable, sculpting scales and skin is a real change of pace from the projects I'd normally tackle for myself. I just hope I hav'nt shot myself in the foot with this job though, I'm expecting to start seeing this Dragon across the table soon!
No comments:
Post a Comment