
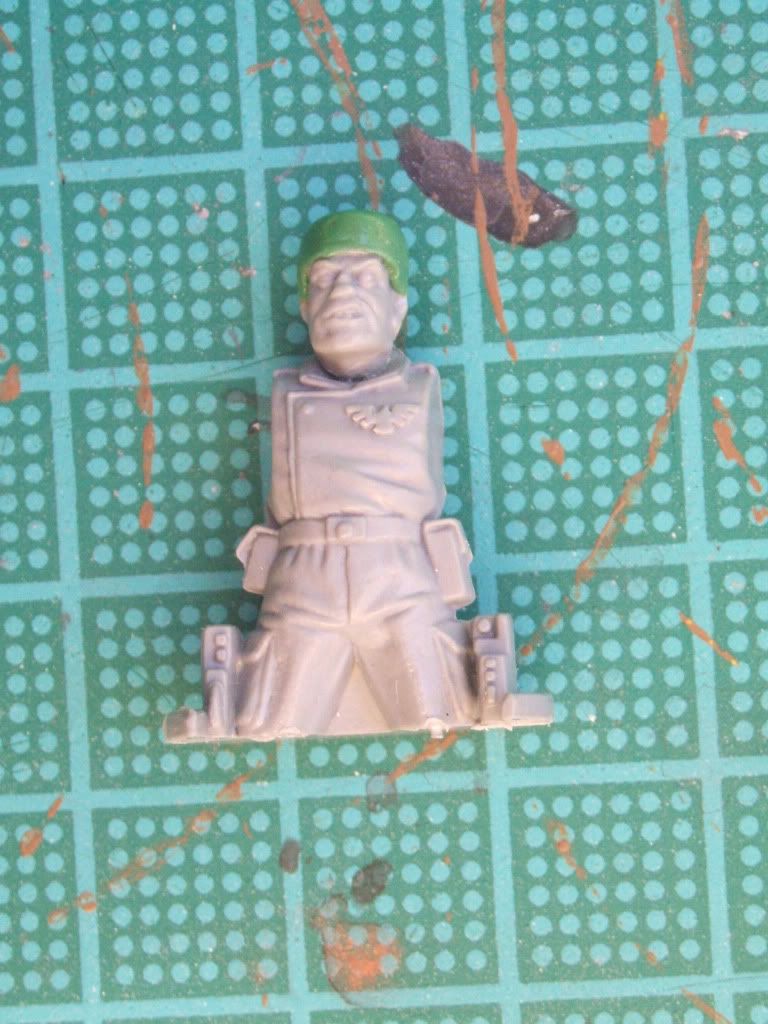
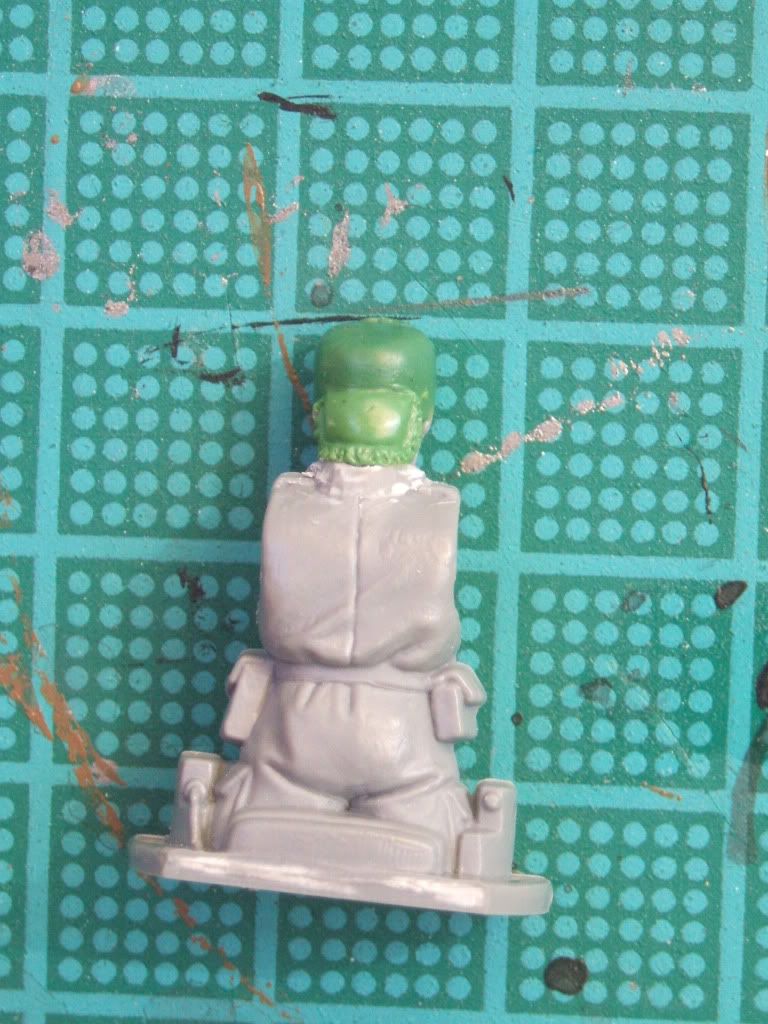
I've started with a Catachan head, this was cleaned up roughly in the usual manner removing the bandana, the main component of the headgear is then added, this is formed from a small ball of putty, about 4mm in diameter, it is created in a cylinder pushing the putty downwards much as with the previously covered Mordian cap, however in this case the top edges of the cylinder are then made smooth curves with a clay shaper as this is actually the top of the dome.
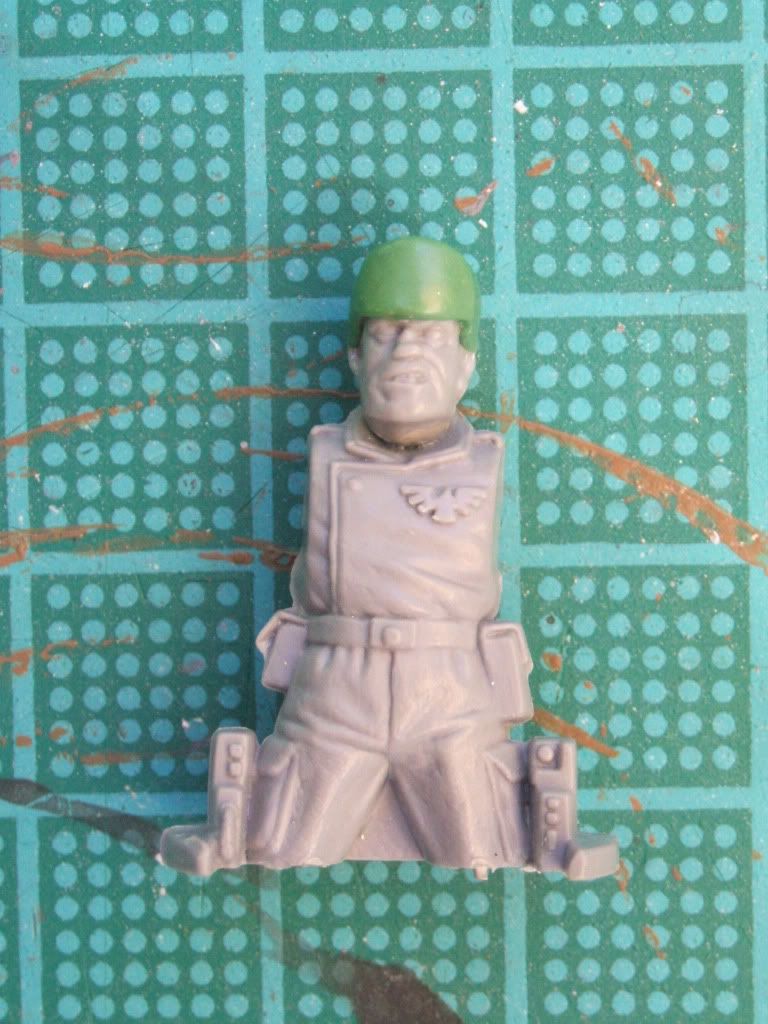
Once cured the front flap is added from another small ball of putty which is pressed against the dome to an appropriate shape and size.
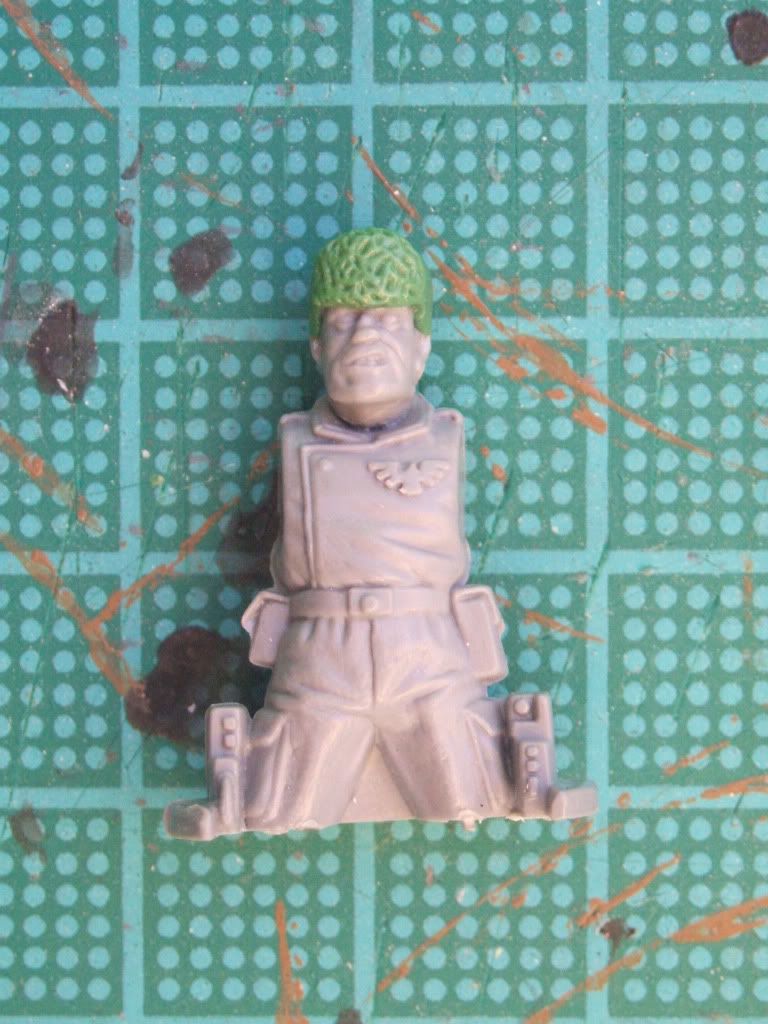
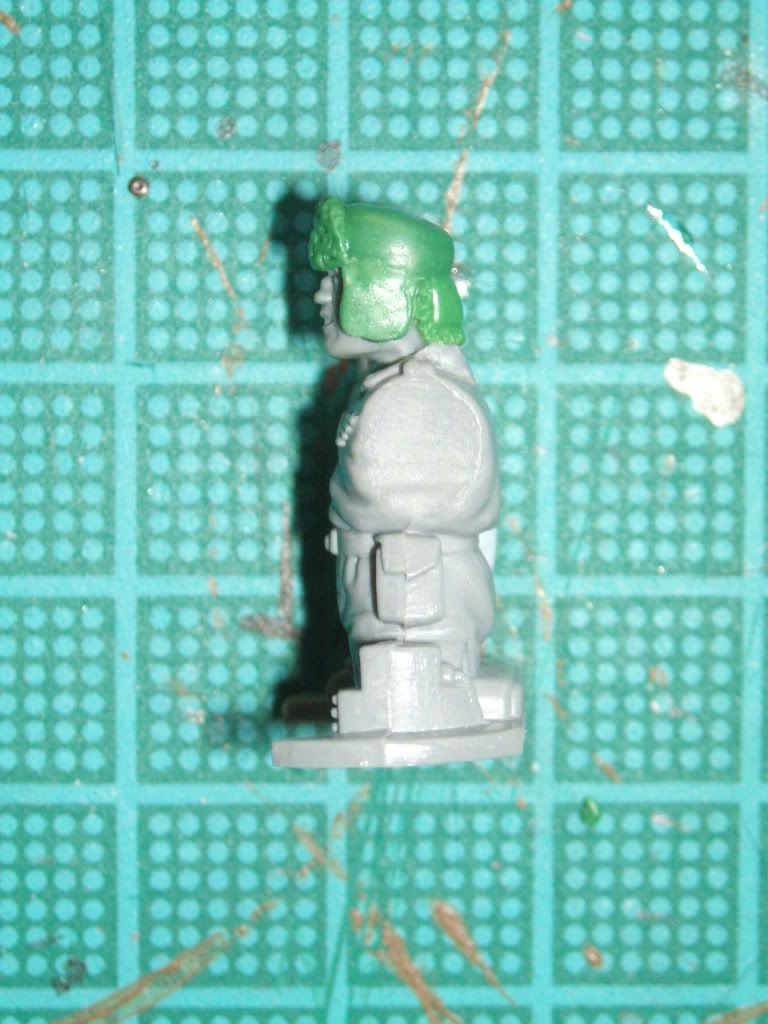
This is then textured using the very tip of a sculpting tool to simulate fur, remembering to not make it too regular a pattern, this has to be done very gently however, too much pressure will ruin it and you'll need to reshape the flap and start again.
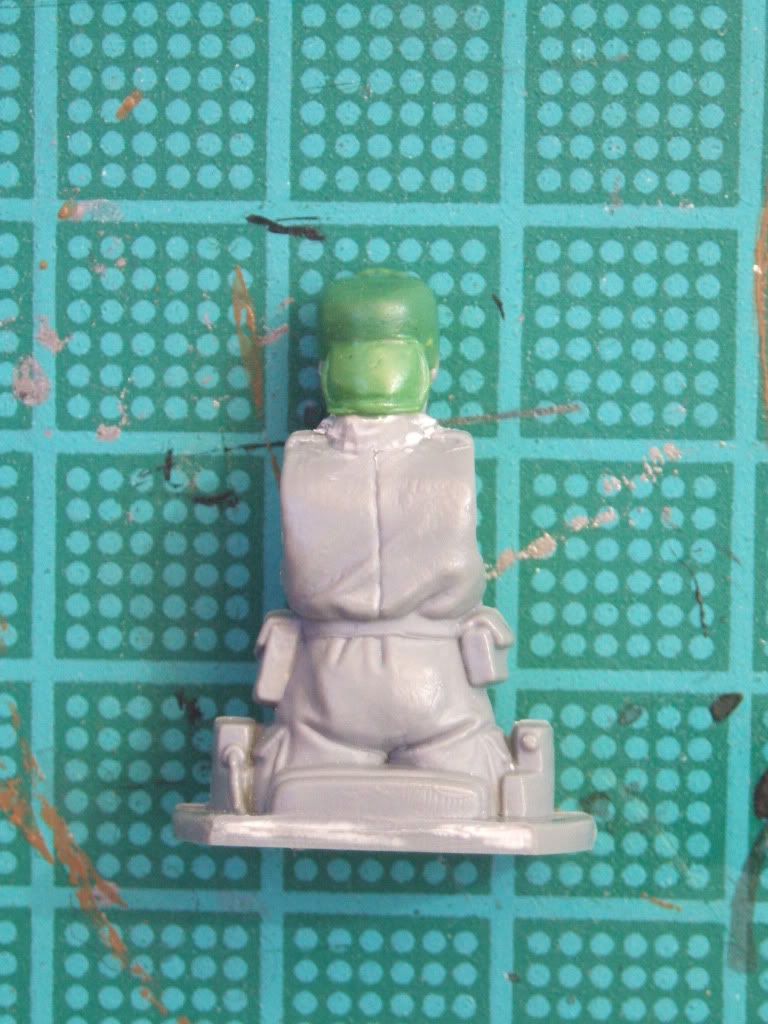
Next up came the flaps, obviously if your having a high collared greatcoat this will need to be done before the headgear as, as with the Valhallan models the side and rear 'flaps' should partly cover the collar. These are formed from small balls of putty which can be added all at the same time or seperately, I pushed the putty flat, forming the rough shape of the 'flap', this was then trimmed to size using the edge of the tool or a scapel. I then defined the edges of the cloth where the fur trim begins. The fur effect itself was as with the front portion then formed using the tip of a sculpting tool.
  |
  |
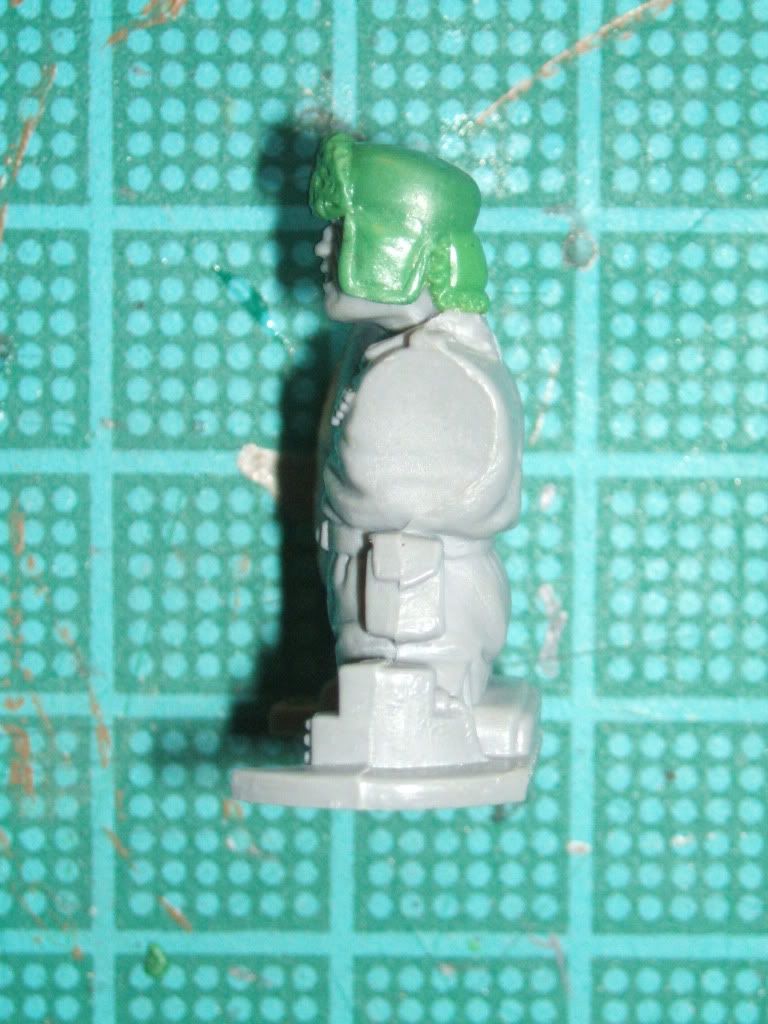  |
Finally once all the flaps were cured a skull emblem was added to the front of the headgear, this could equally be something such as an Aquilla though. A very small piece of putty was added, this was then shaped into a rough skull outline.
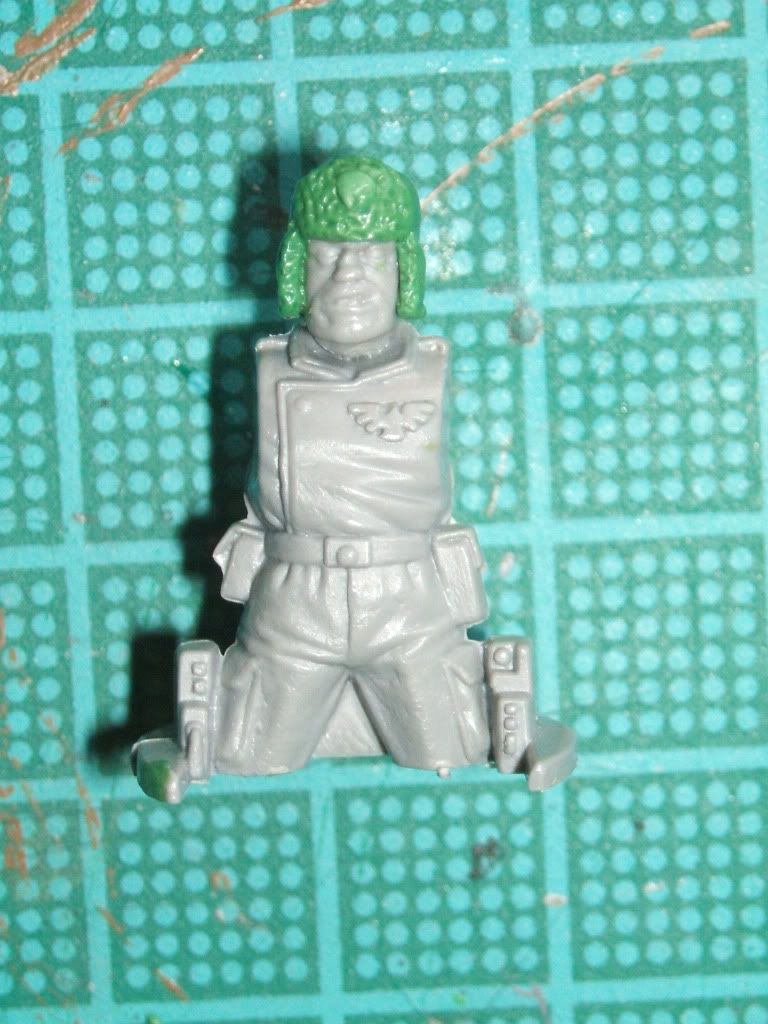
The eye, nose and teeth were then defined with the tip of the sculpting tool and a scapel blade, again applying these with great care so as not too caused too much pressure.
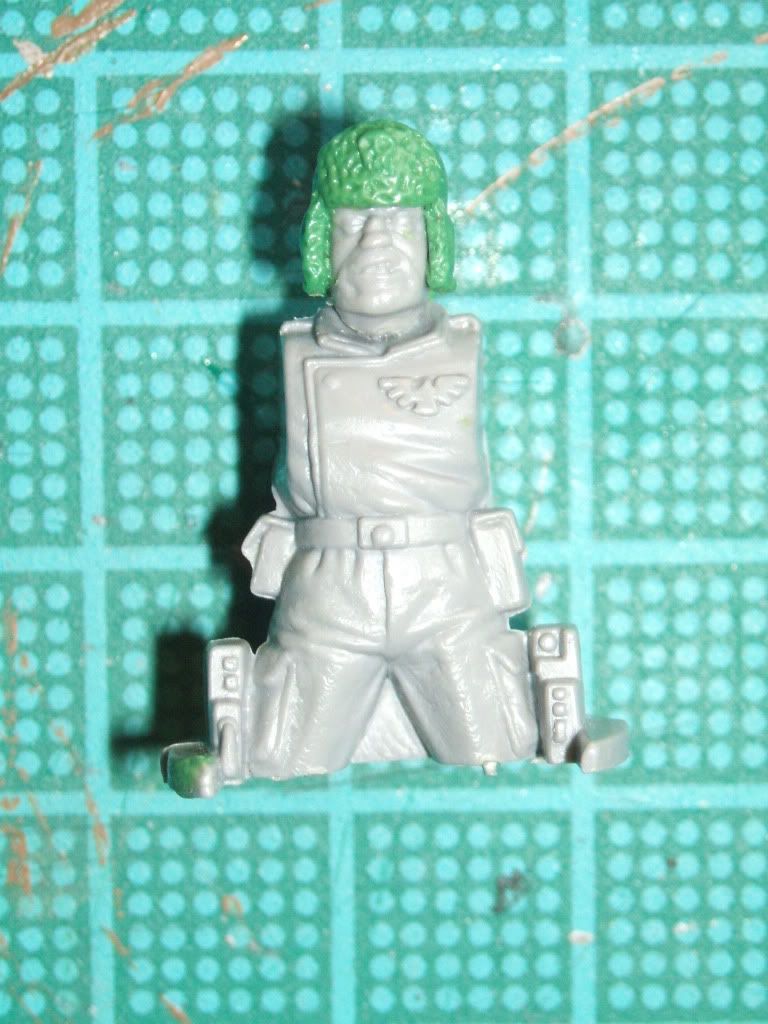
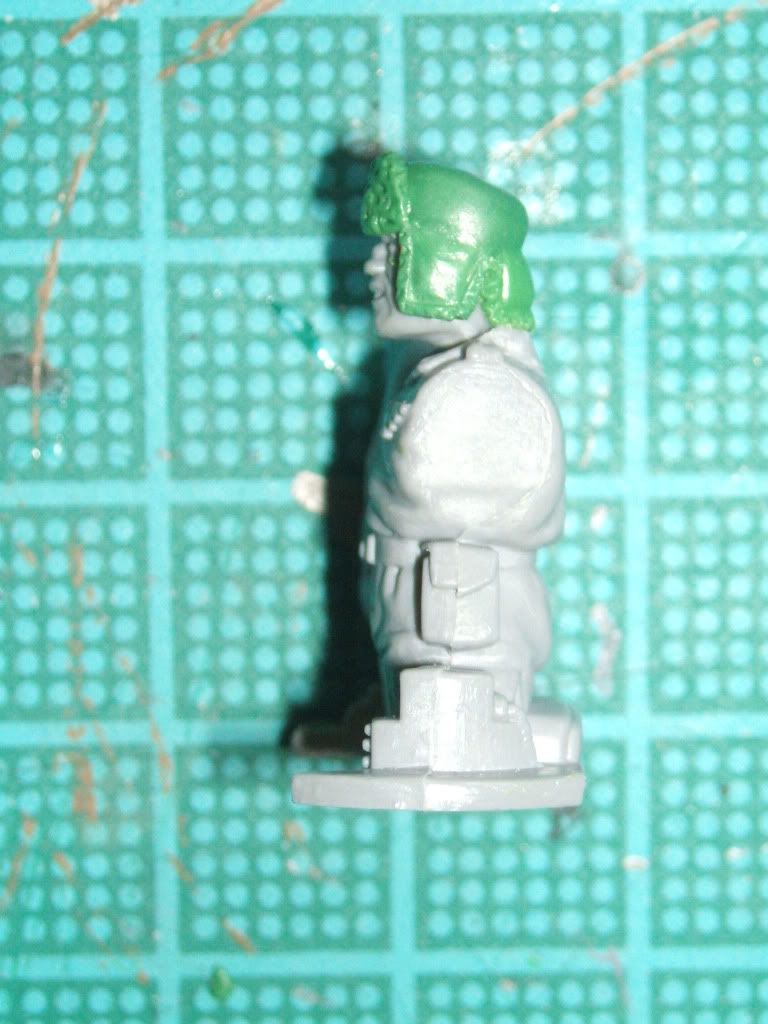
Job done, it looks a little odd without the greatcoat but I think it's a fairly simple way to achieve a reasonable effect which could be improved upon with a little more time spent on it.
4 comments:
That's awesome work, Gravis. You have quite the hand for GS work. I recently got the new Pig Iron heads that resemble Valhallan and your example here is just as good.
Well done!
Impressive work Gravis. My Blog mate makes GS'd Valhallans. He should have a look at this article for technique comparison!
Really pro-tutorial Gravis! The breakdown of the steps makes it seems very simple to do!
Ah! Vallhallans my first true love. This tutorial was great. Now I might just try to convert a few.
Post a Comment