
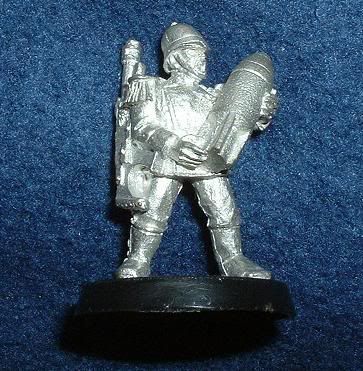
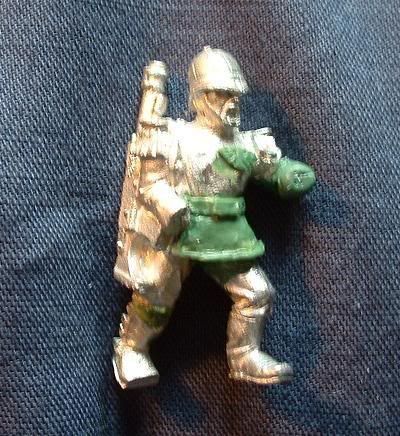
The first stage in the conversion meant removing the Mortar Shell and most of the models left arm, this left a big area of tunic which needed rebuilding as a result.
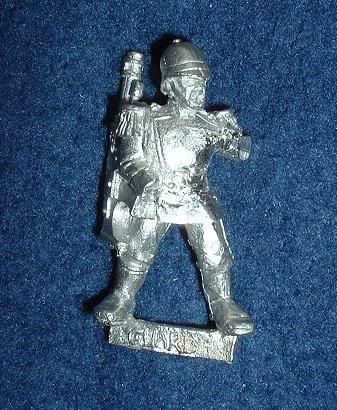
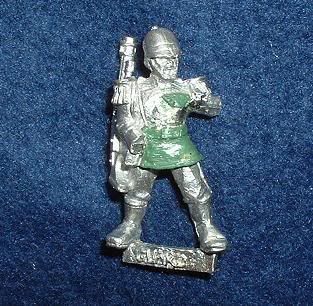
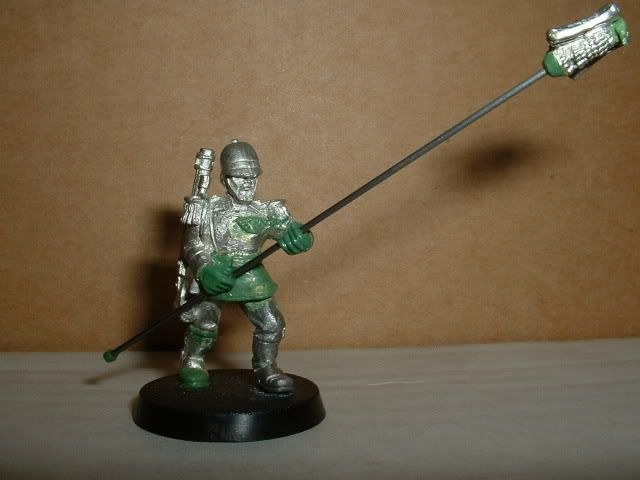
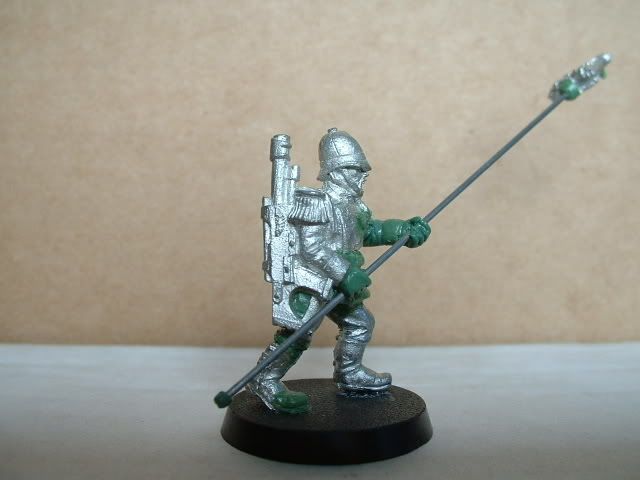
At this point the pose becomes fairly obvious, but looking at it I was'ny happy with how static it was looking, after a little thought I removed the models left leg entirely and the right leg below the knee. The right leg was reattached at a new angle while a new left leg was taken from another Praetorian model, I believe Lasgun #3. This gave a much greater sense of movement, a standard bearer advancing.
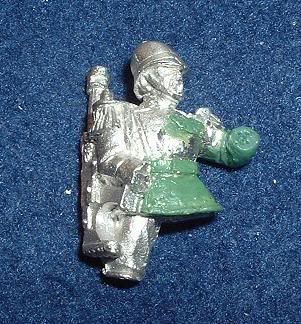
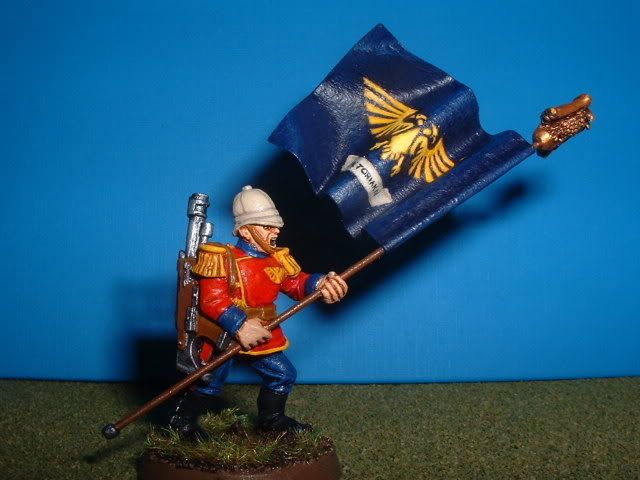
From here in it really was finishing up, the standard shaft made from steel rod was added with a device from the bits box topping it, I then sculpted hands around the shaft. The conversion was fairly simple, if a little time consuming on account of the amount of cutting needed, I was definately pleased with the final result however.
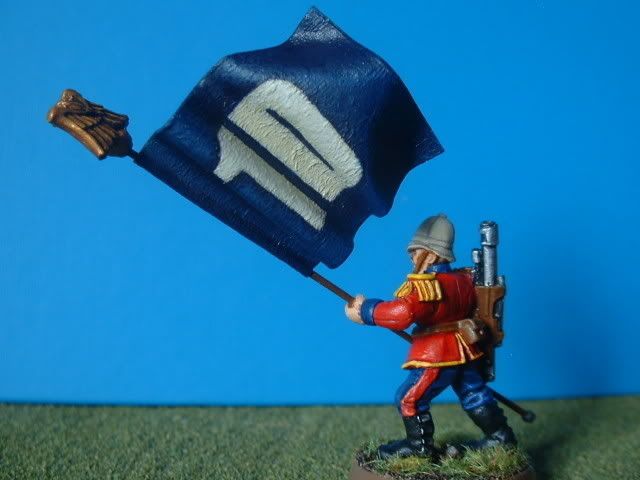
The final stage was of course painting, a fairly normal job for me not fantastic but a fairly good table top standard. The banner itself was the last real challenge, I wanted something with both movement and texture that looked like cloth. Having used green stuff, plasti-card, paper and fabric all before I knew none of these gave the effect I wanted. After a little experimentation I settled on a paper core (with a design printed on it - yeah kinda cheating(!). This core was liberally coated with watered down PVA glue which I used to attach a single ply sheet of toilet tissue, carefully making sure there were as few air pockets caught as possible, the result, once the banner was dry, was a flowing standard with movement and a texture which gives the impression of heavy fabric. Sorted.
No comments:
Post a Comment