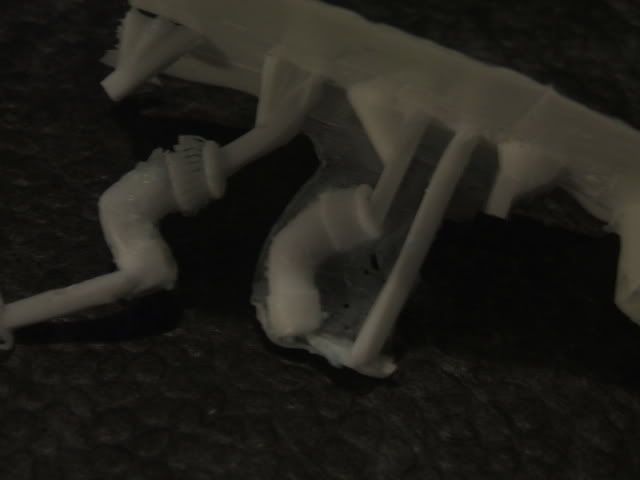
Casting has begun!
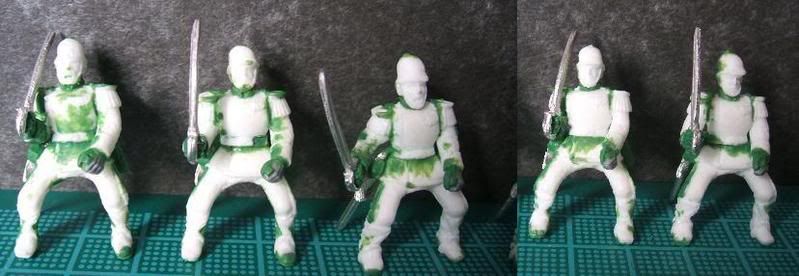
I actually poured my first molds last week, the process is simple enough, I built a low box from lego (brilliant stuff!), this was filled with clay into which the components are pressed.
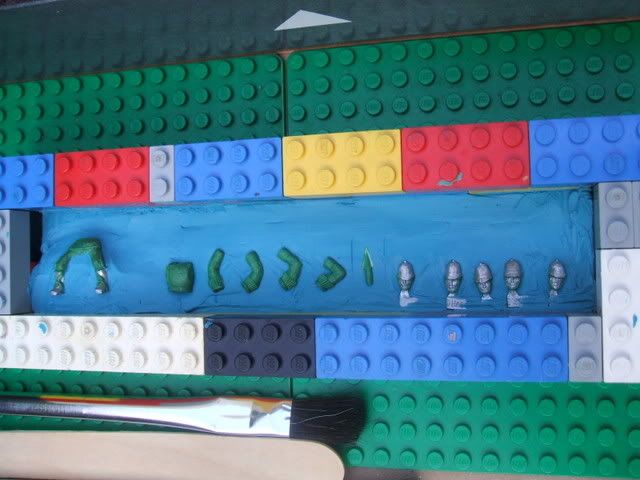
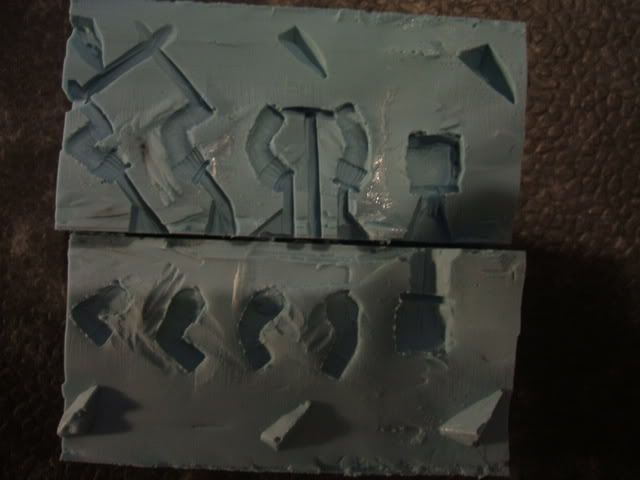
The lego mold is then built up some more, using a brush the release agent is applied (including to the lego). The two part silicon rubber RTV can then be mixed, carefully but with haste, if you pour rapidly (either when actually pouring or mixing the components together) you end up with little air bubbles which obviously can cause problems for the mold and indeed the final cast - but at the same time you cant be slow about it, this stuff starts to cure fairly quickly.
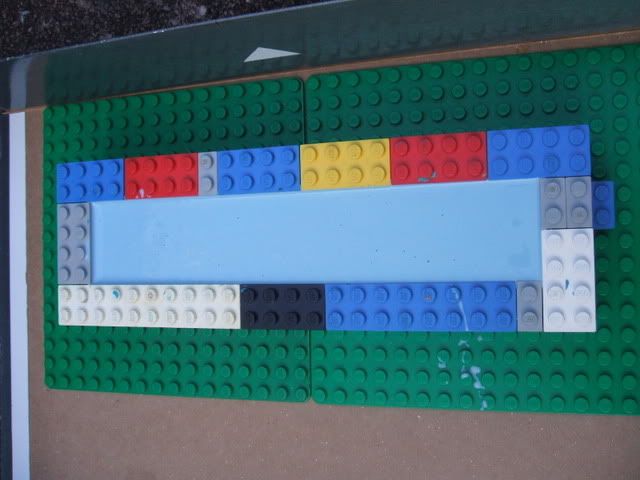
Once poured its a question of waiting, once cured (took about 4 hours with the material I had), the mold is removed and the clay cleaned off, the finished half can then be reversed into the lego mold, release agent is again applied (even more improtant this time, the rubber WILL bond together without it, locking your masters inside the mold). Then it's repeat the pouring.

Once cured your ready to begin casting, I heled my molds together with rubber bands holding the molds laterally and verticly, when it comes to mixing the resin you have to act with even more haste then the rubber, this stuff starts reacting (and getting hot) almost immeaditely, but again be careful to avoid introducing too many air bubbles. A steady pour is essential as well again to avoid bubbles.
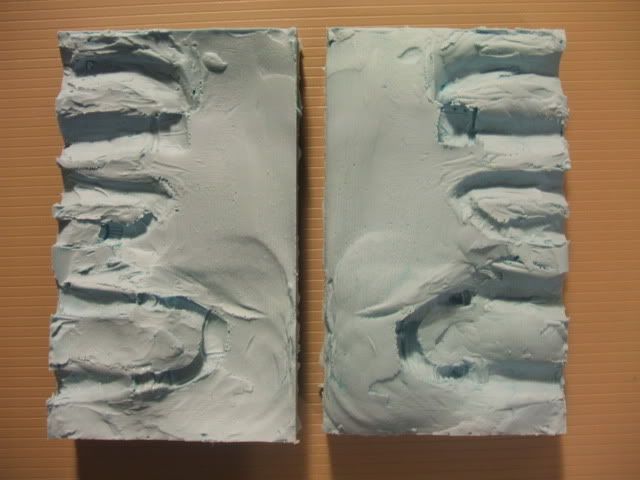
My first cast taught me a few lessons, poorly thought out molds meant I did'nt have large enough pour channels which combined with some bad choices in orientation lead to some severe air pockets in parts of the components. Also think about where your mold lines will be, if possible set them along flat surfaces rather then where detail runs, remember that you can get away with undercutting a little as the mold is flexible, but all the same do try to minimise it.

I also would suggest including the pour channels before casting the mold, some people suggest cutting them post pouring using a scapel but I found this tricky especially with small parts. Finally pouring top down is'nt as effective as pouring from bottom up (again helps reduce air bubbles, create 'U' shaped molds, pouring down the empty channel which connects to the component at its lowest point, the air vent exiting from it's highest, remember that liquid will find it's level.

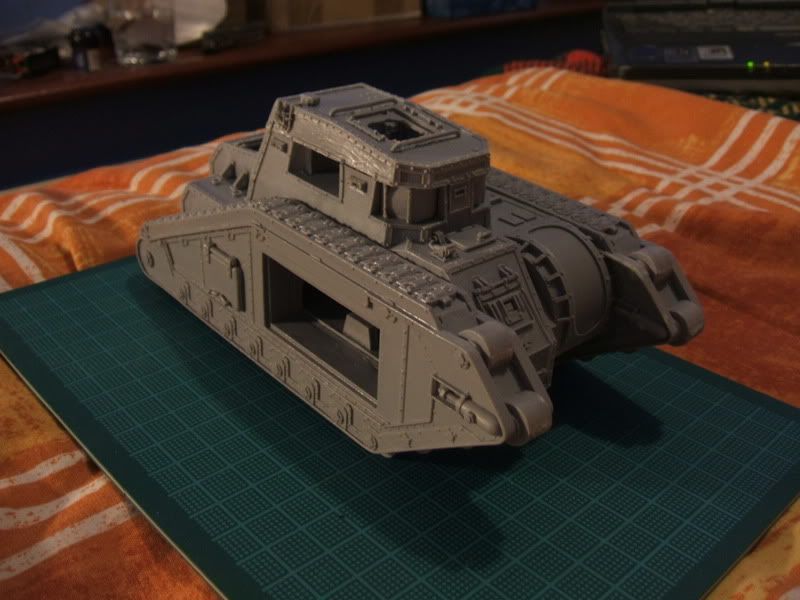
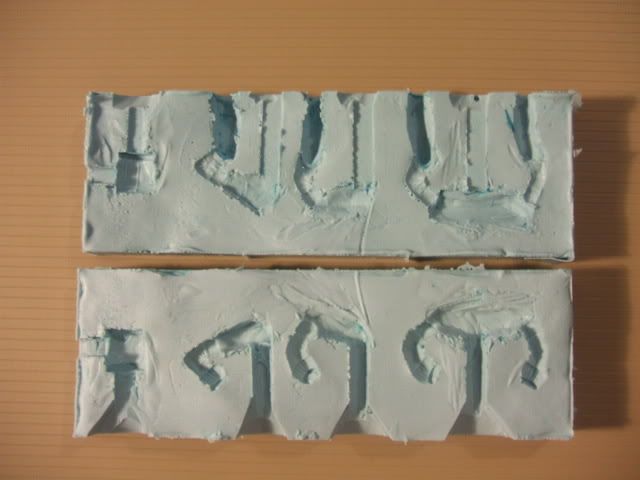
That all in mind I created a new set of molds. These are working nicely, there are still bubbles, but I'm finding nothing worse then you'd get from say a commerical piece from Forgeworld.

I've found taking picture of individual components rather difficult so far, but I will try to add some later on, for the moment though I'm in full swing casting now. I'm producing 2-3 runs a night, aiming to have all my components ready for the weekend.
More soon!