
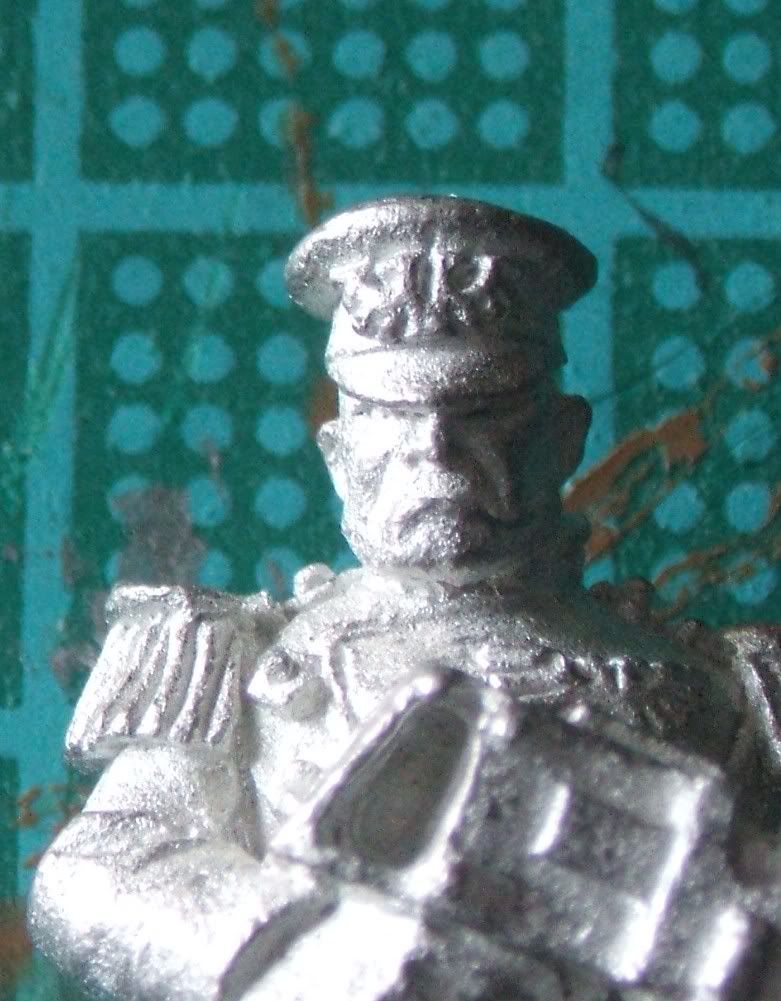
My approach to doing a Mordian Cap is too break it down into it's constituent parts, this is in my mind a good way to tackle most simple forms, using the picture below you can roughly break the cap down into four components which will make it far easier for sculpting. The first is the main part of the cap itself, next is the upper rim, then the brim and finally the aquilla. Each of these is a simple form which can be sculpted in four different stages so as not to risk undoing work done on another part of the cap, though thats certainly not to say it's not possible to do it in fewer stages, once the main 'cylinder' is done I believe it would be possible to do the rest in one go with a little care.
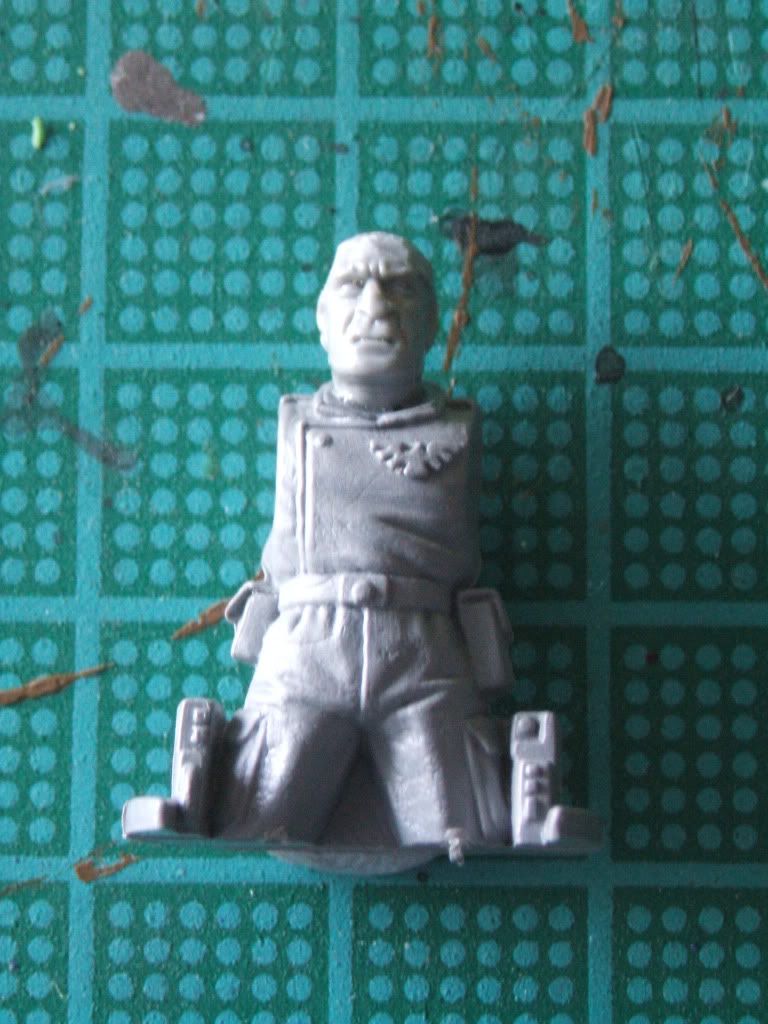
As ever we start with our subject, today it'll be a Catachan. He's not ideal and I've not spent any time as such preparing him, simply trimming away his bandana, hence the head itself is a little rough. At least we should be able to prove that being a 'baby ogryn' is no excuse for being a scruff!
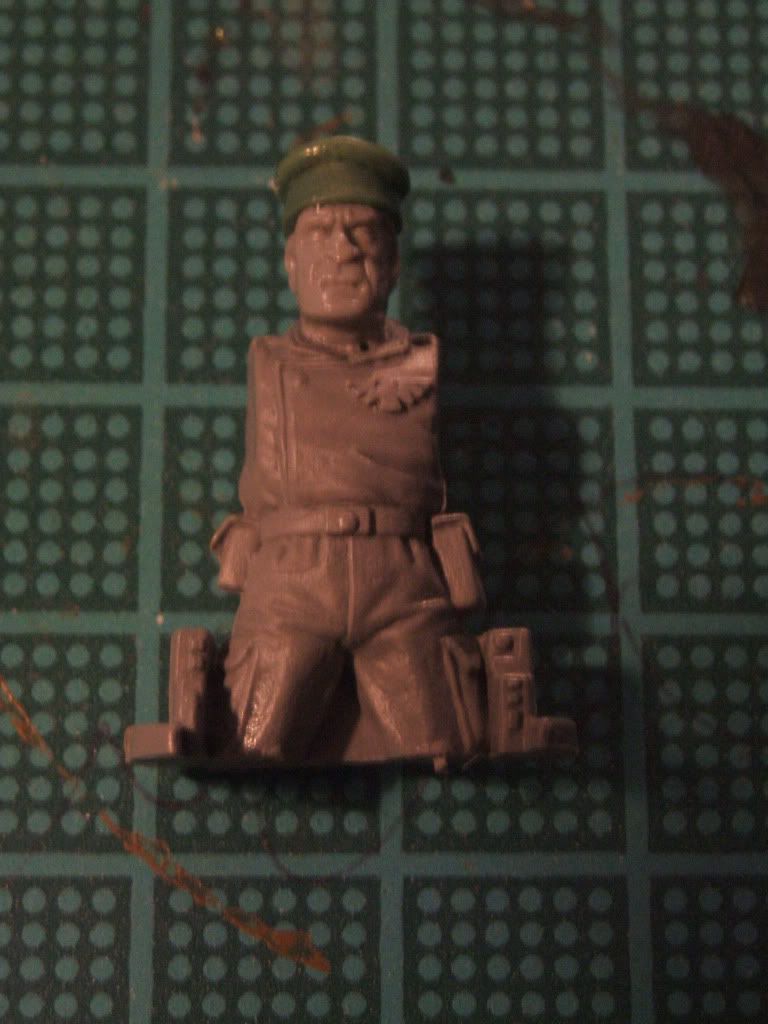
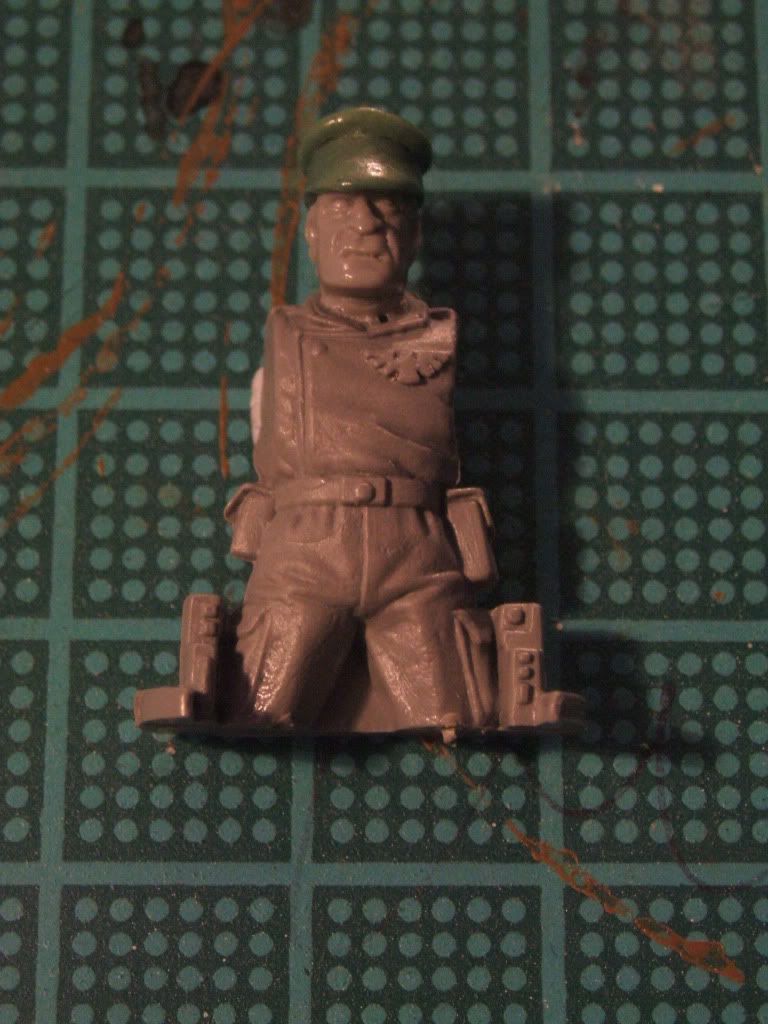
Firstly a cylinder is placed on the head, in this case I rolled a small sausage wrapping it around the top of the head and then shaping it as desired, if more preperation was done and the top of the head for example trimmed or removed a small ball of putty squashed downwards would also work. This cylinder is then left to cure, something I think is fairly essential to do the cap this way. Once cured I cut it down to a more appropriate height.

The next step was to add the upper rim. I started with a small ball of putty which was flattened evenly over the top of the cylinder, the edges were then pushed over and rounded off. It's worth noting that the front of the rim on the Mordian range has a slight rise, this is easily achieveable either by not pushing the rim down so much when rounding the edge off or pushing it upwards gently with a clay shaper once the whole rim is rounded.
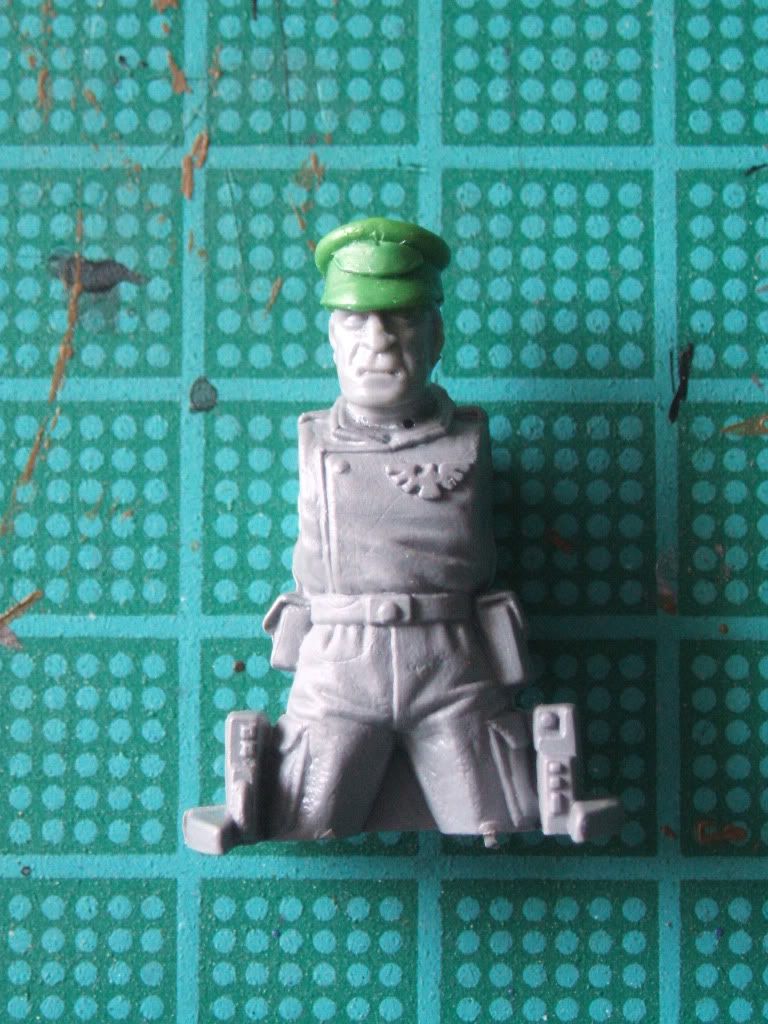
Once the rim had also cured I added the brim, this was formed from a small sausage of putty wrapped around the front and then shaped and pressed to fit, excess puty was removed scraping and the cutting downwards, with any left overs in the recesses removed with a pin. The brim was then also left to cure.
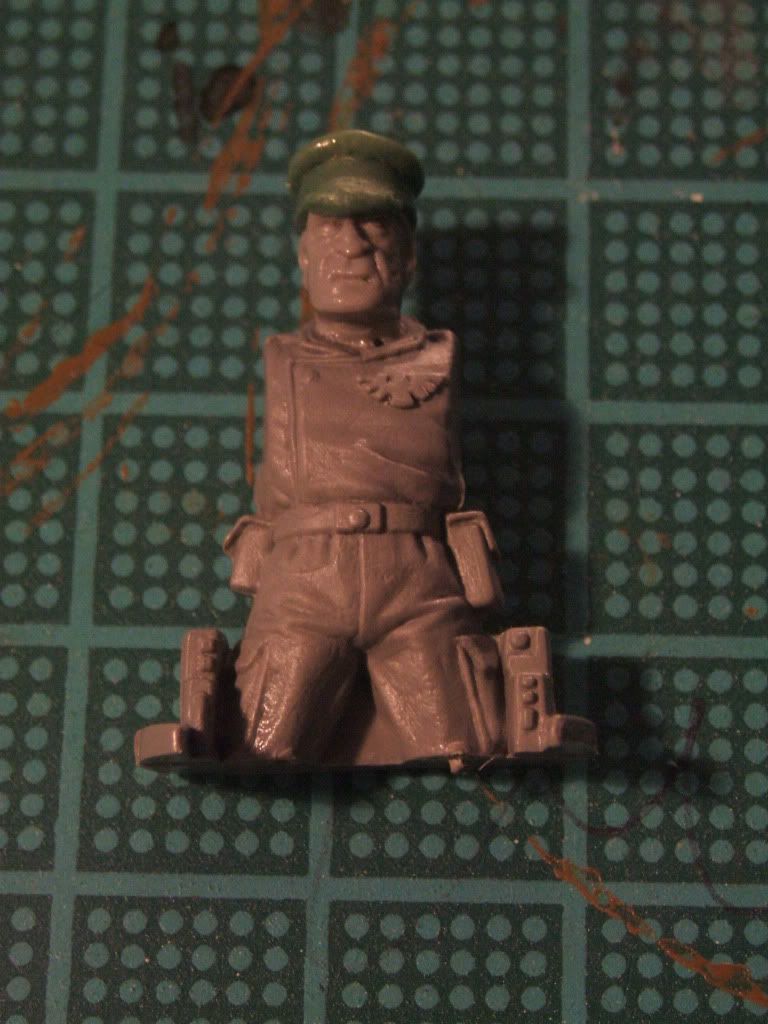  |
Finally the Aquilla was added, a simple trianglular shape was pressed flat against the cylinder and then the detail pressed in with the tip of a scapel blade.
 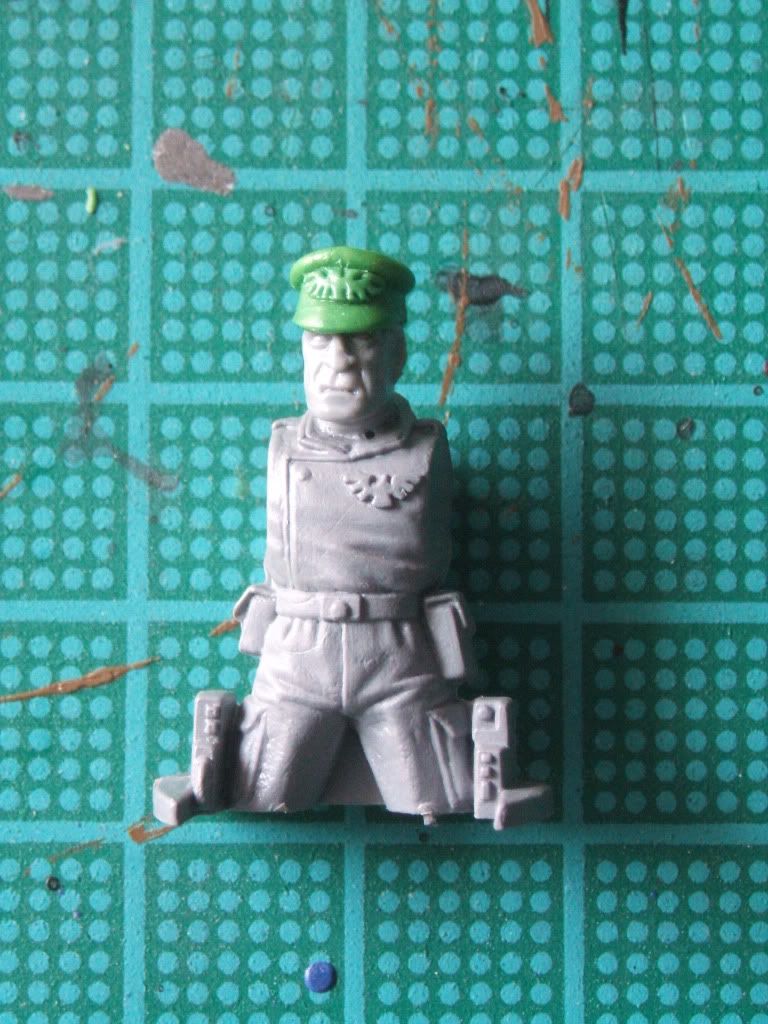 |
And so you have it, one finished Mordian style Cap.

3 comments:
great tip, ill have to try it at some point as I like my sergeants to wear peaked caps. Ive cheated a little on what will be the head of my Hardened Vet Serg... but you'll have to wait untill I post on it!
Craig @ cadian8th.blogspot.com
Awesome.
You make it look so easy, but I'm sure my ham handed attempts will look better for the advice.
Thanks!
Wow,quality bit of work.
Post a Comment